Setting up TailwindCSS on Rails 6
To get started with tailwindcss in Rails 6, you'll want to run a couple of commands up front to install the necessary dependencies.
Installation
You'll need to make sure webpacker is installed and ready to go by running
bundle exec rails webpacker:install
Of course, this is not going to work if you haven't already installed yarn. So if you haven't, you should install yarn now.
Next, we want to add tailwindcss.
yarn add tailwindcss
Configuration
In app/javascript/css/application.scss add the following:
// app/javascript/css/application.scss
@import "tailwindcss/base";
@import "tailwindcss/components";
@import "tailwindcss/utilities";
Add this to app/javascript/packs/application.js
// app/javascript/packs/application.js
// ...
require("css/application.scss")
We'll be using tailwind as a postCSS plugin, so let's look at the file called postcss.config.js in the root of our project and add a couple of requires to it for tailwindcss and autoprefixer.
module.exports = {
  plugins: [
    require('postcss-import'),
    require('postcss-flexbugs-fixes'),
    require('tailwindcss')('./app/javascript/css/tailwind.js'),
    require('autoprefixer'),
    require('postcss-preset-env')({
      autoprefixer: {
        flexbox: 'no-2009'
      },
      stage: 3
    })
  ]
}
Now that we've done this, we need to actually create the tailwind.js file to allow configuration of tailwind:
//app/javascript/css/tailwind.js
module.exports = {
  theme: {
    screens: {
      sm: '640px',
      md: '768px',
      lg: '1024px',
      xl: '1280px',
    },
    extend: {
      spacing: {
        '96': '24rem',
        '128': '32rem',
      }
    },
  },
  variants: {},
  plugins: [],
}
Connecting to Rails Views
Now, let's check out our application layout and add make sure the these tags are there.
<%= stylesheet_pack_tag 'stylesheets', media: 'all', 'data-turbolinks-track': 'reload' %>
<%= javascript_pack_tag 'application', 'data-turbolinks-track': 'reload' %>
Then to test this out in the app, create a new controller, add some content and make it the root route.
rails g controller welcome home
And then in app/views/welcome/home.html.erb:
<!-- app/views/welcome/home.html.erb -->
<section class="mx-2 sm:mx-4 my-6 grid gap-2 grid-cols-1 sm:grid-cols-2 md:grid-cols-3 lg:grid-cols-4 xl:grid-cols-6">
<% 24.times do %>
<div class="rounded overflow-hidden shadow-lg">
    <img class="w-full object-cover" src="https://images.unsplash.com/photo-1503803548695-c2a7b4a5b875?ixlib=rb-1.2.1&ixid=eyJhcHBfaWQiOjEyMDd9&auto=format&fit=crop&w=750&q=80" alt="Sunset in the mountains">
    <div class="px-6 py-4">
        <div class="font-bold text-xl mb-2">The Coldest Sunset</div>
        <p class="text-gray-700 text-base">
        Lorem ipsum dolor sit amet, consectetur adipisicing elit. Voluptatibus quia, nulla! Maiores et perferendis eaque, exercitationem praesentium nihil.
        </p>
    </div>
    <div class="px-6 py-4">
        <span class="inline-block bg-gray-200 rounded-full px-3 py-1 text-sm font-semibold text-gray-700 mr-2">#photography</span>
        <span class="inline-block bg-gray-200 rounded-full px-3 py-1 text-sm font-semibold text-gray-700 mr-2">#travel</span>
        <span class="inline-block bg-gray-200 rounded-full px-3 py-1 text-sm font-semibold text-gray-700">#winter</span>
    </div>
</div>
<% end %>
</section>
Finally, update the root route to be:
root 'welcome#home'
Testing in the Browser
Now, when you fire up your rails server and the webpack-dev-server. I usually do this in two separate terminals
rails s
and then
./bin/webpack-dev-server
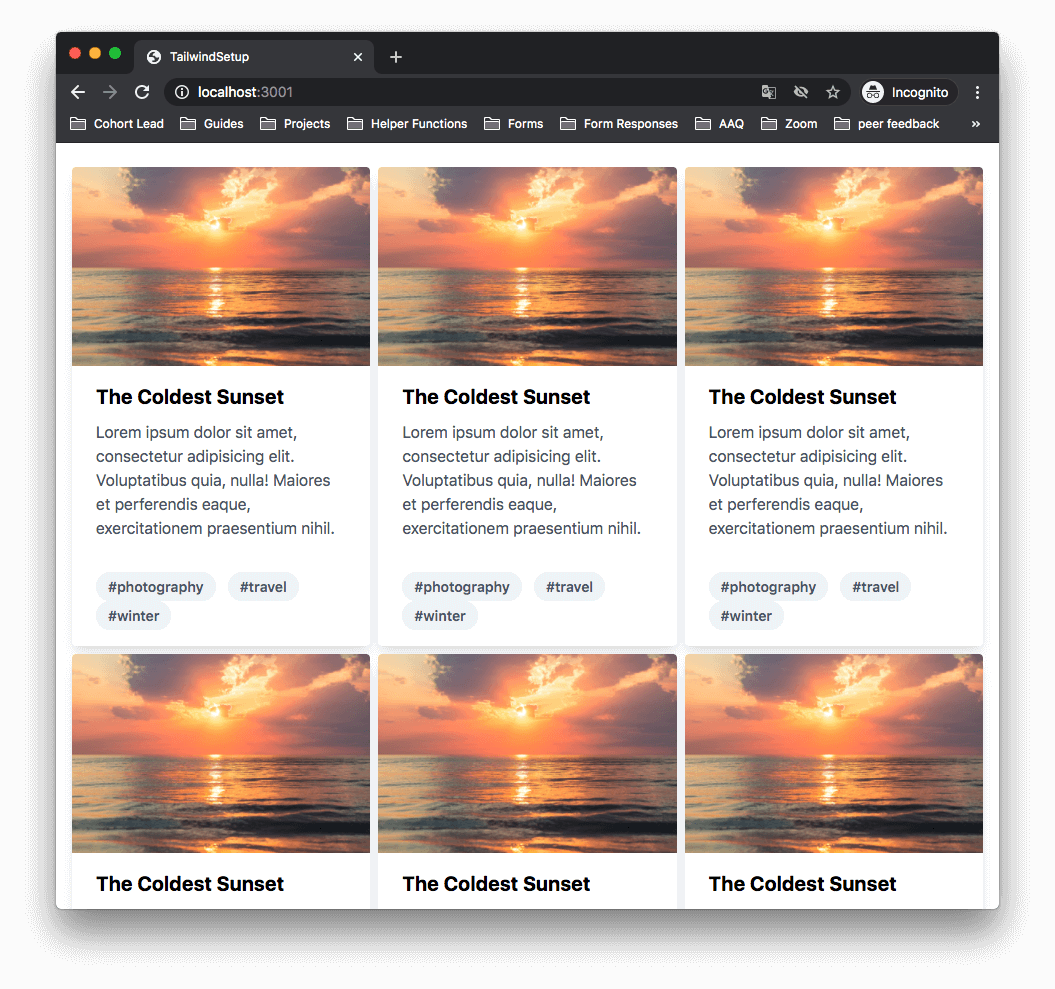
Now, when you boot up the browser and checkout localhost you should see something like this:
Resources
