Weather app
Table of contents
Overview
User stories
Users should be able to:
- View the optimal layout for the app depending on their device's screen size
- View informations: city name, temperature, weather infos (snow, heavy rain, etc.)latitude, longitude
- View every 2 hours weather
- View the weather in the next 10 days.
- backgroud animation depending the weather (rain, sun)
- add multiple city
- swipe to see another city's weather
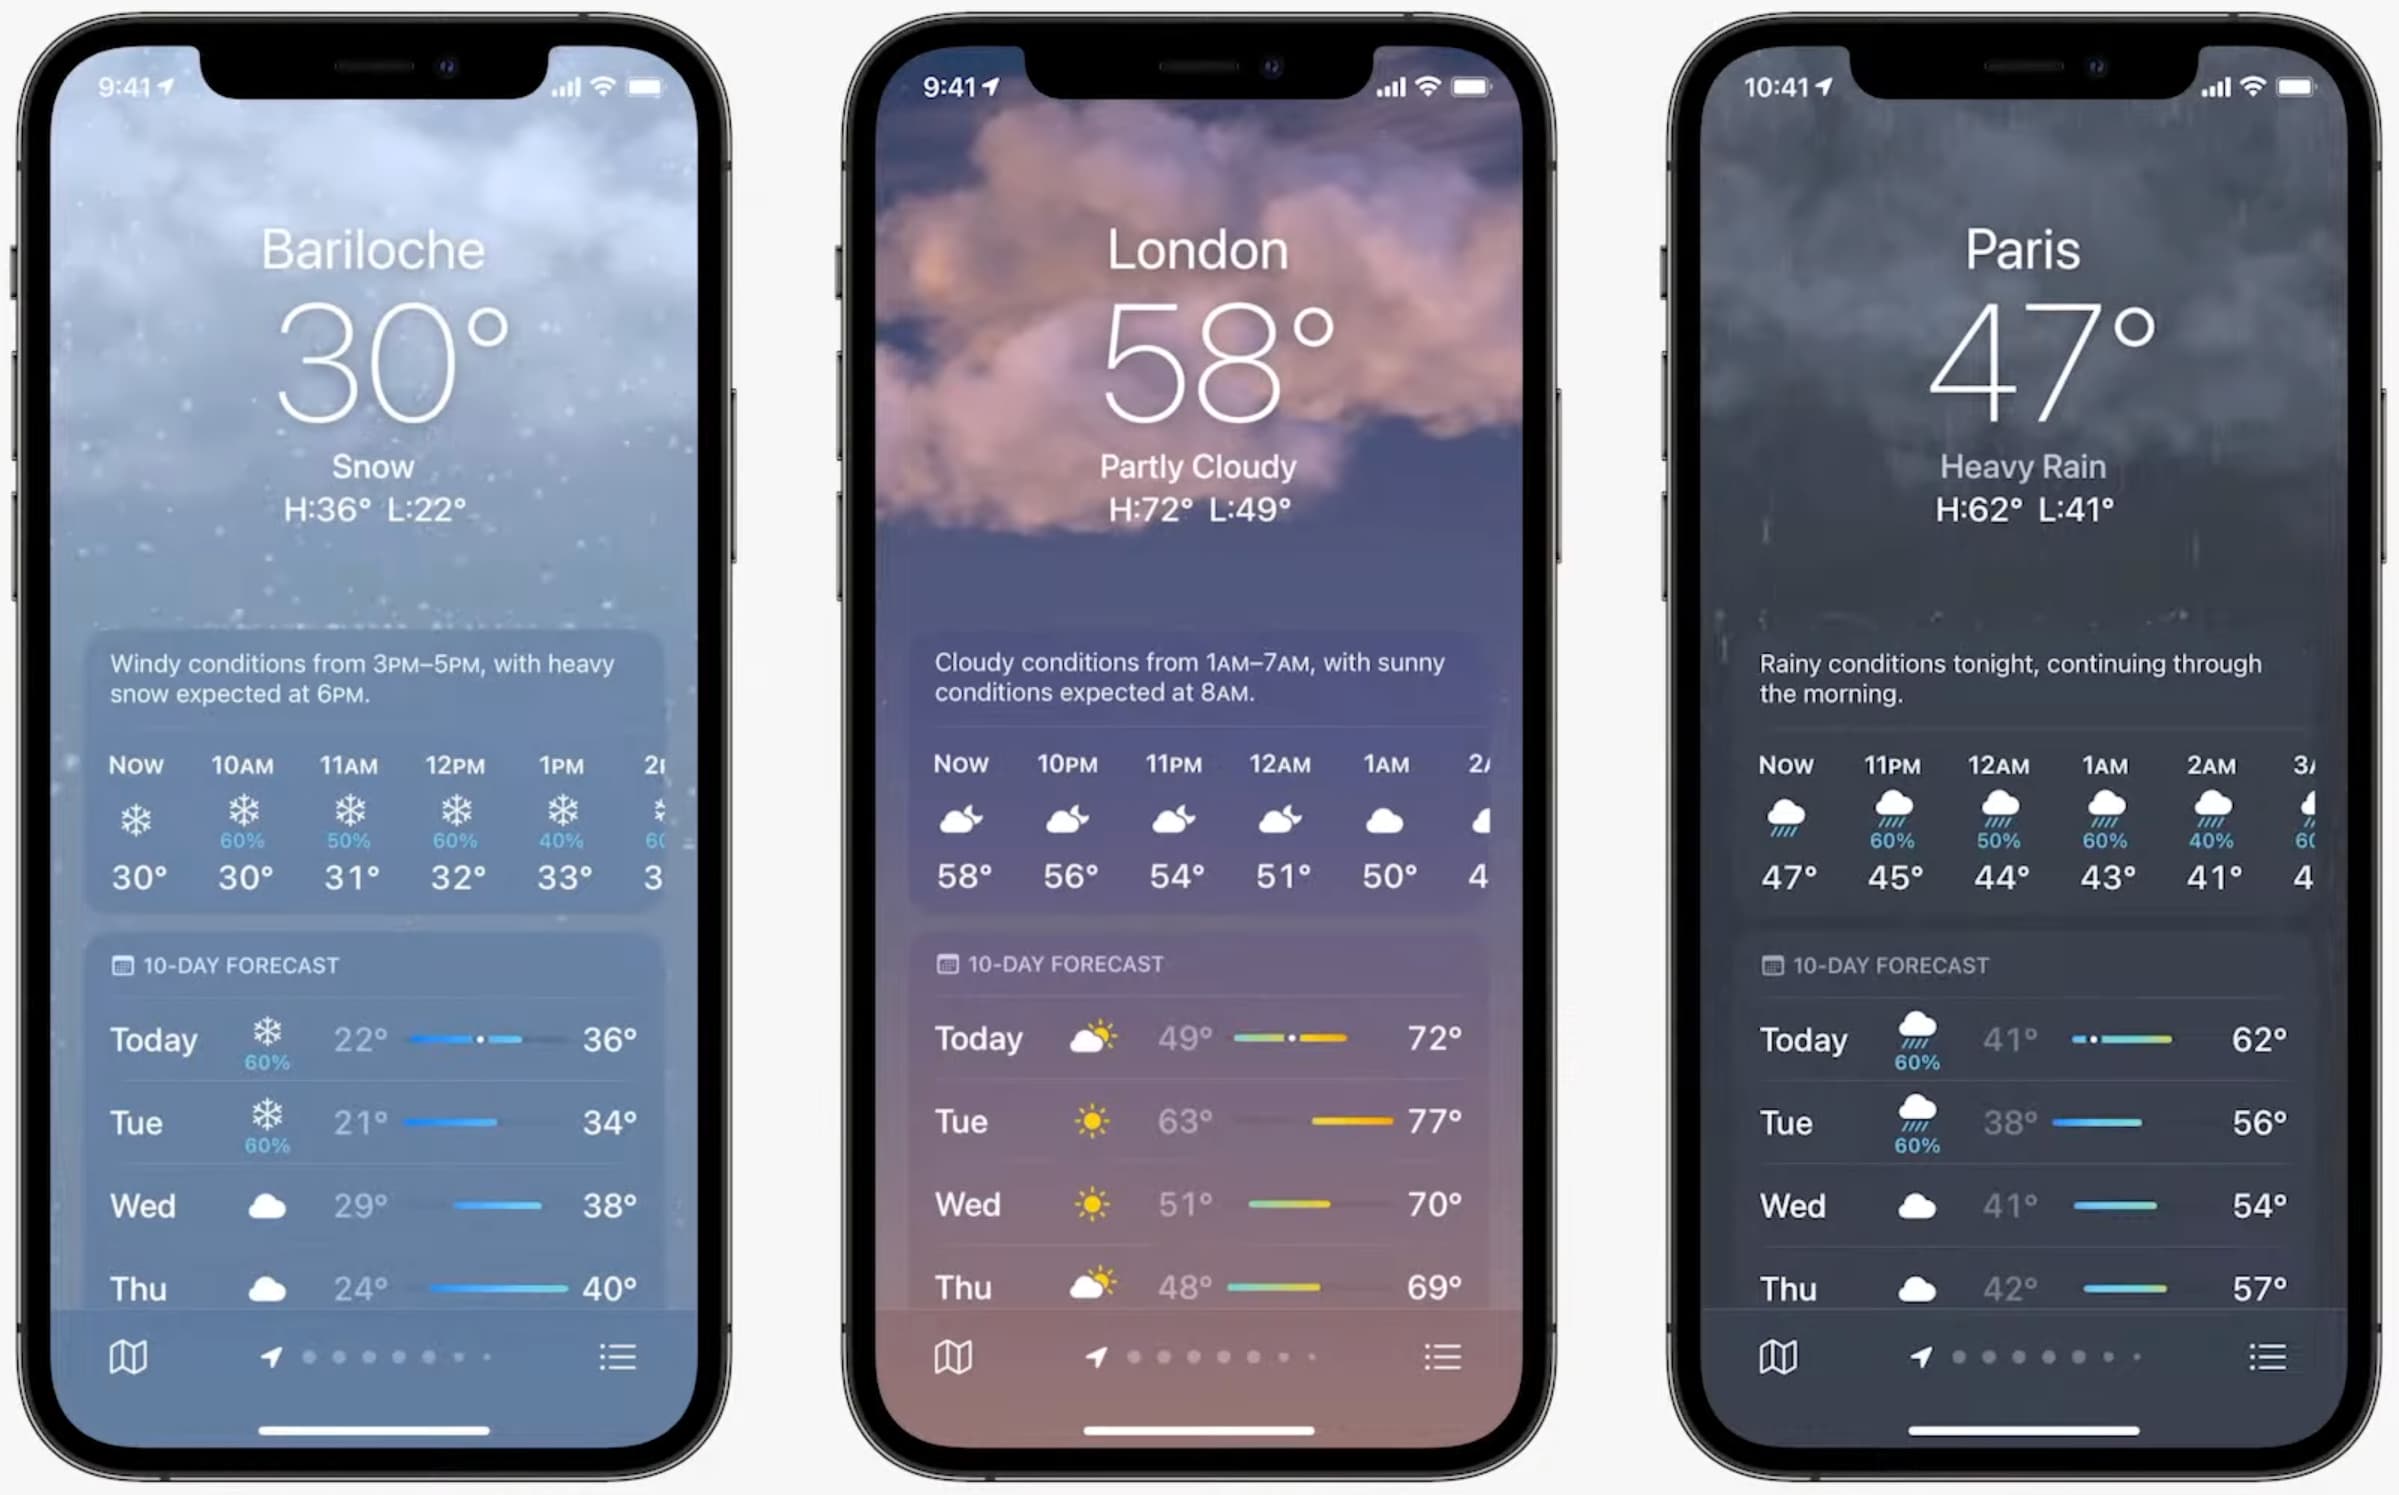
Screenshot

Weather Icons code
See: Weather Conditions of OpenWeather API
My process
Built with
- Mobile-first workflow
- React
- Tailwind CSS
- TypeScript
- Day.js
- Chart.js
- react-chartjs-2
- Chart.js Datalabel plugin
- React Feather icons
Components
What I learned
Setup TypeScript with React
See: Setup TypeScript with React - React TypeScript CheatSheet
OpenWeather API
See: OpenWeather One Call API docs
Day.js
Convert a timestamp (seconds) into hours (e.g 10 PM or 11 AM):
dayjs(timestamp * 1000).format('h A');
Make a scrollable chart in React and Tailwind
Create a ScrollableContainer component:
export default function ScrollableContainer({ children }) {
    return <div className="overflow-x-scroll no-scrollbar">{children}</div>;
}
Add a new CSS class no-scrollbar in tailwind.config.js file. That will hide the scrollbar but keep the scroll functionality.
Notice that we don't use overflow-x-hidden class because it'll disable the scroll.
const plugin = require('tailwindcss/plugin');

module.exports = {
    /* ... */
    plugins: [
        plugin(function ({ addUtilities }) {
            const newUtilities = {
                '.no-scrollbar::-webkit-scrollbar': {
                    display: 'none' /* Chrome */,
                },
                '.no-scrollbar': {
                    '-ms-overflow-style': 'none' /* IE and Edge */,
                    scrollbarWidth: 'none' /* Firefox */,
                },
            };

            addUtilities(newUtilities);
        }),
    ],
};
Create a chart that its width is greater than the container:
<ScrollableContainer>
    <LineChart data={chartData} width={1200}>
        ...
    </LineChart>
</ScrollableContainer>
Source : How to create scrollable element in Tailwind without a scrollbar - Stack Overflow
Create a scrollable container using Swiper
// ScrollableContainer.tsx

import { Swiper, SwiperSlide } from 'swiper/react';

export default function ScrollableContainer(props) {
    return (
        <Swiper
            slidesPerView={'auto'}
            freeMode={true}
            // Prevent the whole page to be swiped
            touchMoveStopPropagation={true}
        >
            {/* The width is the chart's */}
            <SwiperSlide style={{ width: '1200px' }}>{props.children}</SwiperSlide>
        </Swiper>
    );
}
Use the ScrollableContainer component:
<ScrollableContainer>
    <LineChart data={chartData} width={1200} height={200}>
        <Line type="linear" dataKey="temperature" />
    </LineChart>
</ScrollableContainer>
We set the width of SwiperSlide to 1200px to make sure we can scroll over the whole chart.
Create a responsive component using hooks
https://www.freecodecamp.org/news/make-react-apps-responsive/
Add custom fonts in React Tailwind
The example below use Merriweather font.
I've used Fontsource to download the font.
Fontsource is a fonts monorepo bundled into individual NPM packages. That means you can download several Google fonts with the command npm install.
Download Merriweather font:
npm install @fontsource/merriweather-sans
Import the font in the React app entry file App.tsx or App.js.
import '@fontsource/merriweather-sans';
Then add Merriweather Sans in your Tailwind config file. E.g. tailwind.config.js.
module.exports = {
    theme: {
        fontFamily: {
            sans: ['Merriweather Sans', 'sans-serif'],
        },
    },
That will overwrite Tailwind default font family settings and will create a class named font-sans that you can use to styling React components.
Finally, add the class font-sans to your App component in App.tsx or App.js file.
function App() {
    return (
        <div className="App font-sans">
            <HomePage />
            <DetailsPage />
        </div>
    );
}
Add the search functionality
When the user type a city in the search input field, the app shows a list of suggestions of city. The Openweather API needs the latitude & longitude to get data. But we want to type the city name, not the lat & lon. That's why we are going to use the Geocoding API to convert the city name that user type to the coordinate.
- create a input component. when the user clicks on the submit button, we call Geocoding API.
- create a array of data, when the input is changing, we filter the data from the array.
- create a search component that accepts data prop & return a input element
Developer
1. Configure .env
To-do list
- Align temperatures on the daily forecast
- Make OpenWeather API calls
- Deploy to GitHub Pages https://create-react-app.dev/docs/deployment/#github-pages
- Search city
Author
- GitHub - xingcdev
Acknowledgments
How to Build a Weather Application with React and React Hooks
3D Weather Icons by hosein_bagheri
https://objectifsmartphone.fr/wp-content/uploads/2021/06/iOS-15-weather-app.jpg
